How to Repair or Patch a Hole or Tear in a Boat Cover
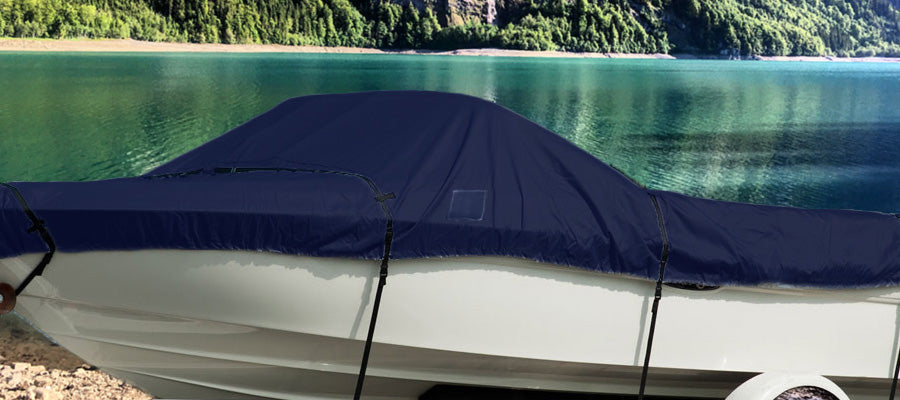
If you inspect your boat cover, boat bimini top, or boat canvas regularly (you are doing that right?), then one of these days you’re going to find a hole. Before you run out and drop a bundle on a brand-new cover, consider repairing your existing cover with a patch. It will be less expensive than a new cover, will not take up too much time, and will be more environmentally friendly than sending a cover to the landfill. In this article we’ll discuss the materials and steps required for a basic DIY boat cover tear or hole repair.
Be wary of tunnel vision when it comes to a tear or hole in your cover. If you notice one, there very well could be more, or it could indicate a larger problem if, for example, the thread is breaking down (most marine thread starts breaking down in 2 – 3 years). Inspect your entire cover before committing to a repair plan: keep in mind you may need to replace the cover if it is too far gone.

Once you’ve identified the areas that need repairing, investigate how the holes may have occurred. If chafing is the cause, you’ll need to reinforce your repair and/or cover the spot on your boat, such as a sharp corner, with a cap, abrasion tape, or other buffer to prevent further damage.
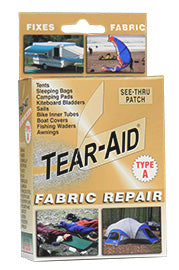
It is a good idea to keep sail tape, Tear-Aid® (Type A), or a similar fabric patching product on hand and get it on the hole as soon as possible after you notice the tear. Tape is not a good permanent solution, so use it to keep the rip from growing while giving you time to gather your materials and schedule your repair.
Materials
- Replacement fabric. E.g. Sunbrella, color matched to your cover
- Double-sided tape, 3/8”, or fabric glue
- Marine thread – polyester 92 is about max for home sewing machines, but the stronger the better
- Fabric scissors
Steps
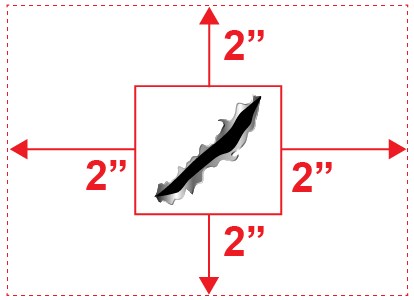
1) Measure the size of patch you’ll need by adding 2 inches to all sides of the torn area. Cut the patch square or rectangular to keep it simple. Use fabric scissors for a precise cut. Make a second patch the same size.
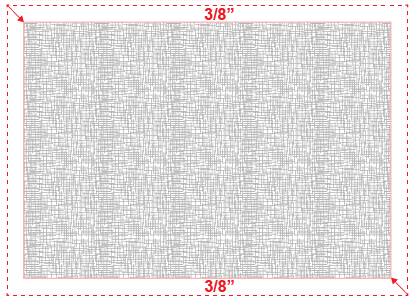
2) Hem the patch: line 3/8” double sided tape or fabric glue around the edge of the patch and fold over 3/8” of the edges. Press and hold to form the hem. Repeat for the second patch. Don't worry about sticking the corners as these will be sewn down anyway.
3) Add more tape or glue around the hem; this will be used to affix the patch to the cover. Do the same for the second patch.
4) Stick the patch down over the damaged area, aligning it with existing cover seams or edges for a more pleasing look. Flip over the cover and stick the other patch to the opposite side in the same orientation and spot as the first patch.

5) With your sewing machine, start in one corner and drop the needle by hand to begin. Do a pass or two of reversing to lock the initial stitch, and then sew along the edge to the next corner.

6) Pivot the fabric 90 degrees on the needle and carry on sewing to the next corner.
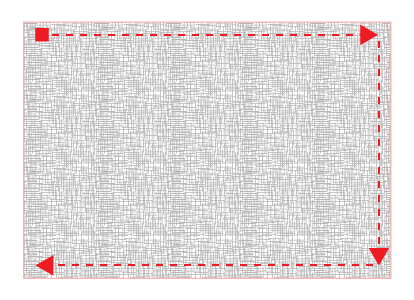
7) Repeat for the third side. At this point the fabric is quite twisted with all the turning, so it is a good spot to stop and reorient for the final side. So do a reverse pass to finish here, and then remove the needle.

8) Untwist the fabric and move back to the starting corner, this time aiming along the final side. Start here just as you did in Step 5 and sew through to the final corner. Do some reversing here to lock your final stitch.
9) Pull the fabric from the sewing machine and trim the threads. You are done!
With your cover patched and back on your boat you’ll find satisfaction in giving your cover an extended life and saving yourself some money in the process. Keep inspecting that cover regularly and patching as necessary until it really is time to say goodbye to it. When it is time for a replacement, remember, we’ve got you covered.Published
Recent Posts
Windlass Problems? Common Issues and How to Fix Them
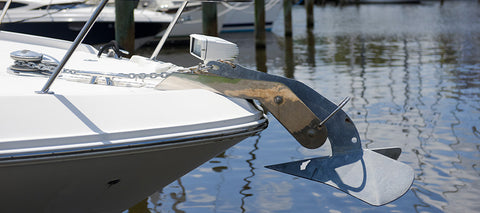
Let's look at common issues with windlasses and how to address them:
1) Windlass Won’t Run in Either Direction
2) Solenoid Clicks, but Windlass Won’t Move
3) Windlass Lacks Power to Haul the Anchor
4) Rode Gets Jammed or Doesn’t Come In
Our history: a 20 year journey

Boat Cleaning Tips for Anglers: Keeping Your Vessel Spotless and Pristine

Avast, Ye Mariners! Master the Art of Docking: A Swashbuckling Guide for Boaters

Top Reasons to Keep a Boating Maintenance Log
4 Top Tips for Buying a New-to-you Used Boat

Bent Boat Anchor Shank: Common Causes and Prevention Tips

Prepare Your Boat For An Above Average Hurricane Season

Best Methods For Anchoring Your Jet Ski in Deep or Shallow Water

Best Options For Connecting Your Boat To WiFi Internet
